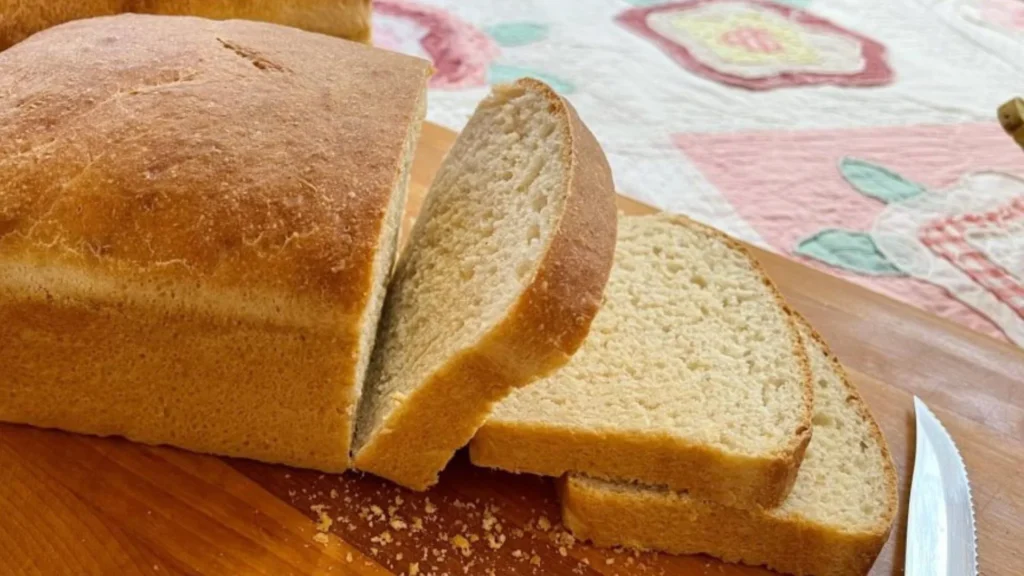
If you’re a fan of freshly baked bread with a wholesome, hearty flavor, this KitchenAid Wheat Bread Recipe is for you!
As someone who loves baking and experimenting with different types of bread, I’ve found this recipe to be a game-changer.
The soft, slightly nutty flavor of whole wheat combined with the light, airy texture is simply irresistible.
What’s even better? It’s made using a KitchenAid stand mixer, which makes the process a lot easier and more efficient.
In this blog post, I’ll walk you through the entire process—from the ingredients to the step-by-step instructions—so you can create this amazing bread at home.
Whether you’re a seasoned baker or just starting out, I’ll make sure the instructions are clear, easy to follow, and packed with tips for a successful bake.
Why Make Wheat Bread With A Kitchenaid Mixer?
Using a KitchenAid stand mixer takes much of the heavy lifting out of bread-making, ensuring that your dough is perfectly kneaded and consistently mixed.
The dough hook attachment allows you to knead the dough efficiently, saving you time and effort compared to kneading by hand.
KitchenAid mixers are built to handle dense whole wheat flour doughs that can sometimes be difficult to work with.
By the end of this recipe, you’ll have a golden-brown, delicious loaf that is perfect for sandwiches, toasting, or just enjoying with a bit of butter.
How To Prepare KitchenAid Wheat Bread Recipe?
Recipe Overview
Preparation Time: 10 minutes
Cooking Time: 30-35 minutes
Total Time: 2 hours (including rising time)
Course: Bread
Calories: 120
Cuisine: American
Yield: 1 loaf
Kitchen Utensils
To make this wheat bread, you’ll need a few essential kitchen tools. Here’s a list of what I use:
- Large mixing bowl
- Measuring cups and spoons
- Loaf pan (9×5 inches)
- Kitchen towel or plastic wrap
- Cooling rack
- Oven mitts
Ingredients
- 4 1/2 cups whole wheat flour (or white whole wheat)
- 3 packets (2 1/4 tsp each) active dry yeast
- 1 1/2 tablespoons granulated sugar
- 1 1/2 teaspoons salt
- 1 1/2 cups warm water (110°F)
- 1 1/2 tablespoons olive oil (or vegetable oil)
- 1 1/2 tablespoons honey (optional)
- 1 1/2 tablespoons vital wheat gluten
How to Make
1. Activate Yeast: In a bowl, combine warm water, sugar, and yeast. Stir and let sit for 5-10 minutes until bubbly.
2. Mix Ingredients: In the bowl of a KitchenAid mixer, add the flour, salt, and vital wheat gluten. Attach the dough hook and slowly pour in the yeast mixture, olive oil, and honey (if using). Mix on low until a dough forms.
3. Knead: Increase speed to medium and knead for about 5-7 minutes until the dough is smooth and elastic.
4. First Rise: Shape the dough into a ball, place it in a greased bowl, and cover with a damp cloth. Let rise in a warm place for 1-1.5 hours, or until doubled in size.
5. Shape & Second Rise: Punch down the dough, then shape it into a loaf. Place in a greased 9×5-inch loaf pan. Cover and let rise for another 30-45 minutes.
6. Bake: Preheat oven to 375°F (190°C). Bake for 30-35 minutes, until the bread sounds hollow when tapped on the bottom.
7. Cool: Remove from the pan and let cool on a wire rack before slicing.

Special Notes
1. Flour Variations: You can experiment with different flour ratios, such as adding a bit of rye or oat flour for a unique flavor.
2. Dough Consistency: If the dough is too sticky, add a bit more flour, one tablespoon at a time. If it’s too dry, add a splash of water.
3. Storage: Store your leftover bread in a plastic bag or breadbox for up to 3-4 days. For longer shelf life, slice and freeze the bread.
Tips For Perfect Wheat Bread
1. Use Warm, Not Hot Water: Yeast needs warm water to activate but will be killed if the water is too hot. The ideal temperature is between 100°F and 110°F.
2. Don’t Overwork the Dough: Over-kneading can result in dense bread. With a KitchenAid mixer, it’s easy to knead the dough to the right consistency.
3. Let the Dough Rise in a Warm Spot: If your kitchen is cold, try placing the dough in an oven that is turned off but has the light on to create a warm environment.
4. Use Fresh Yeast: Old yeast can lead to flat or under-risen bread, so be sure to check the expiration date on your yeast packets.
5. Add Variety: For added flavor and texture, consider adding 1/4 cup of sunflower seeds, flaxseeds, or oats into the dough before baking.
Storage Tips
Once your KitchenAid Wheat Bread Recipe is baked and cooled, store it in an airtight container or a resealable plastic bag at room temperature for up to 3 days.
For longer storage, slice the bread and freeze it for up to 3 months. To thaw, simply leave slices out on the counter or toast directly from the freezer.
Conclusion
Baking your own KitchenAid Wheat Bread Recipe is a satisfying and rewarding experience. The combination of whole wheat and all-purpose flour gives the bread its delicious flavor and texture.
Using a stand mixer like the KitchenAid makes the process smoother, but even if you don’t have one, you can easily make this by hand.
I highly recommend this recipe to anyone looking to add a homemade touch to their meals. Whether it’s for breakfast, sandwiches, or served alongside dinner, this wheat bread will surely become a favorite in your kitchen.
Happy baking!